This project has been a long tiume inclubating as a draft as I kept making adjustments and changes. Eventually I thoughjt I neeed to publish this thing as its been under draft for 5 months now. So the APC was finished in December but the box and blog was finished today.
# What I Ended Up With
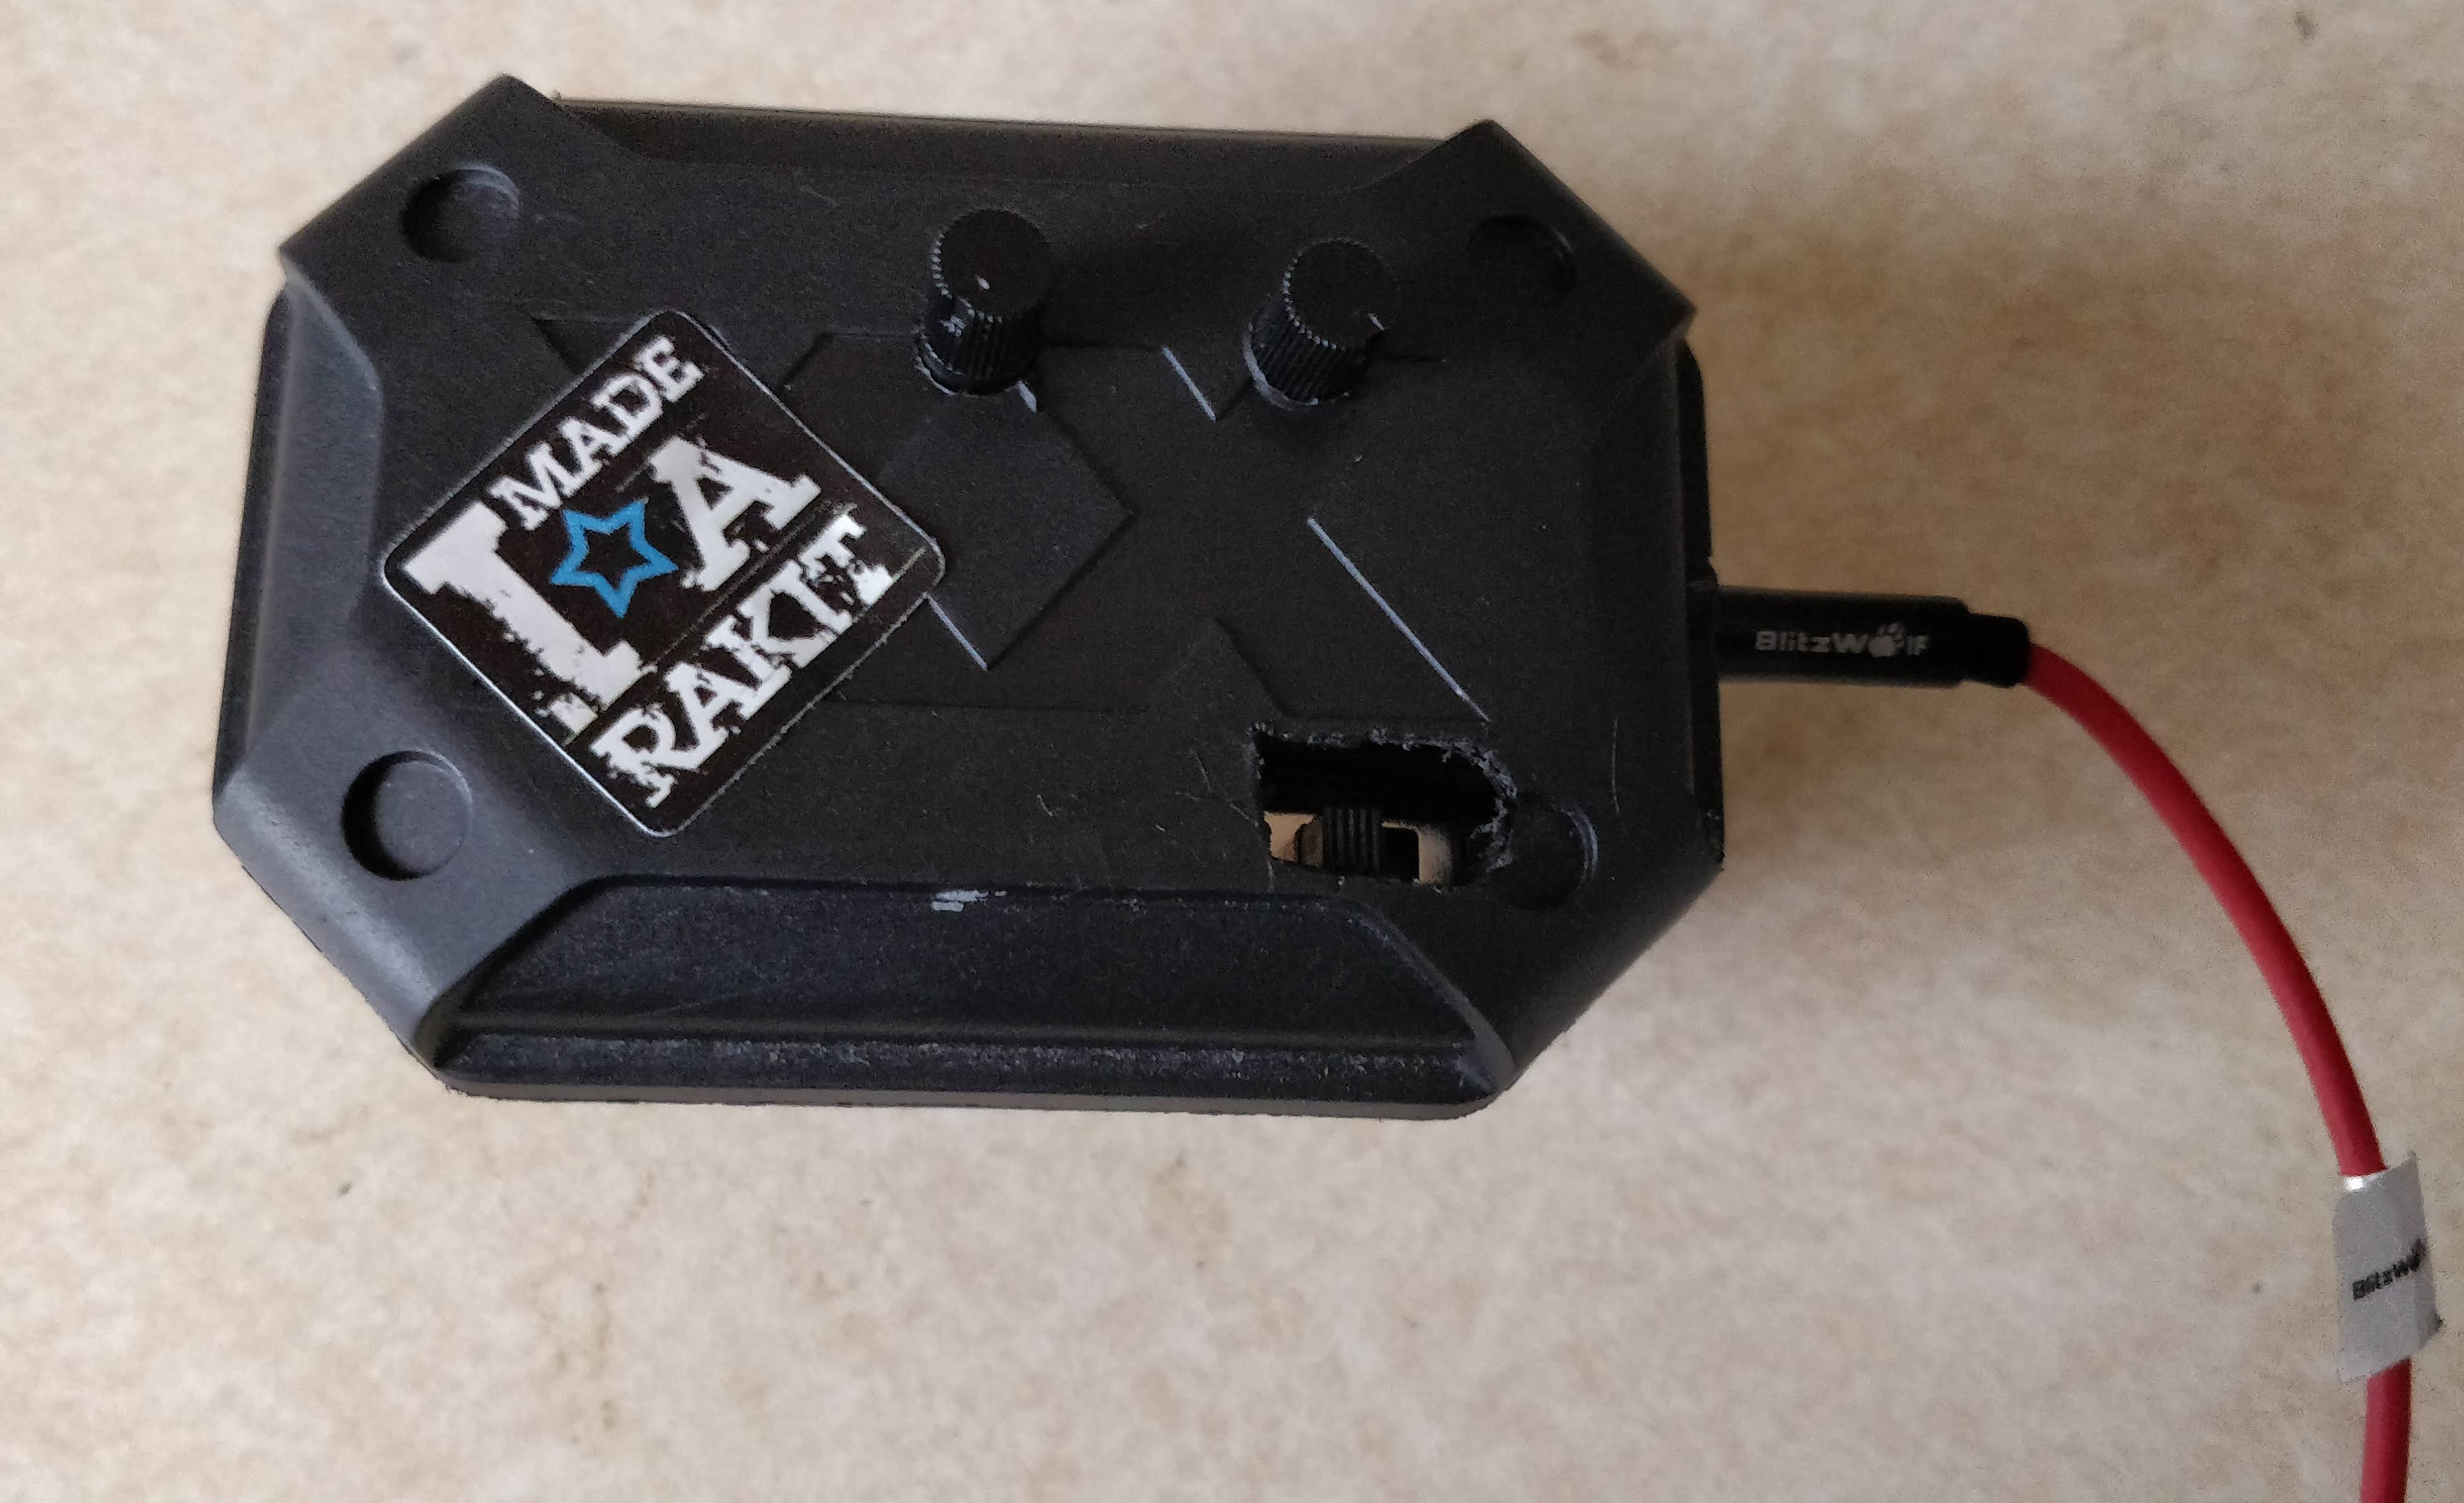
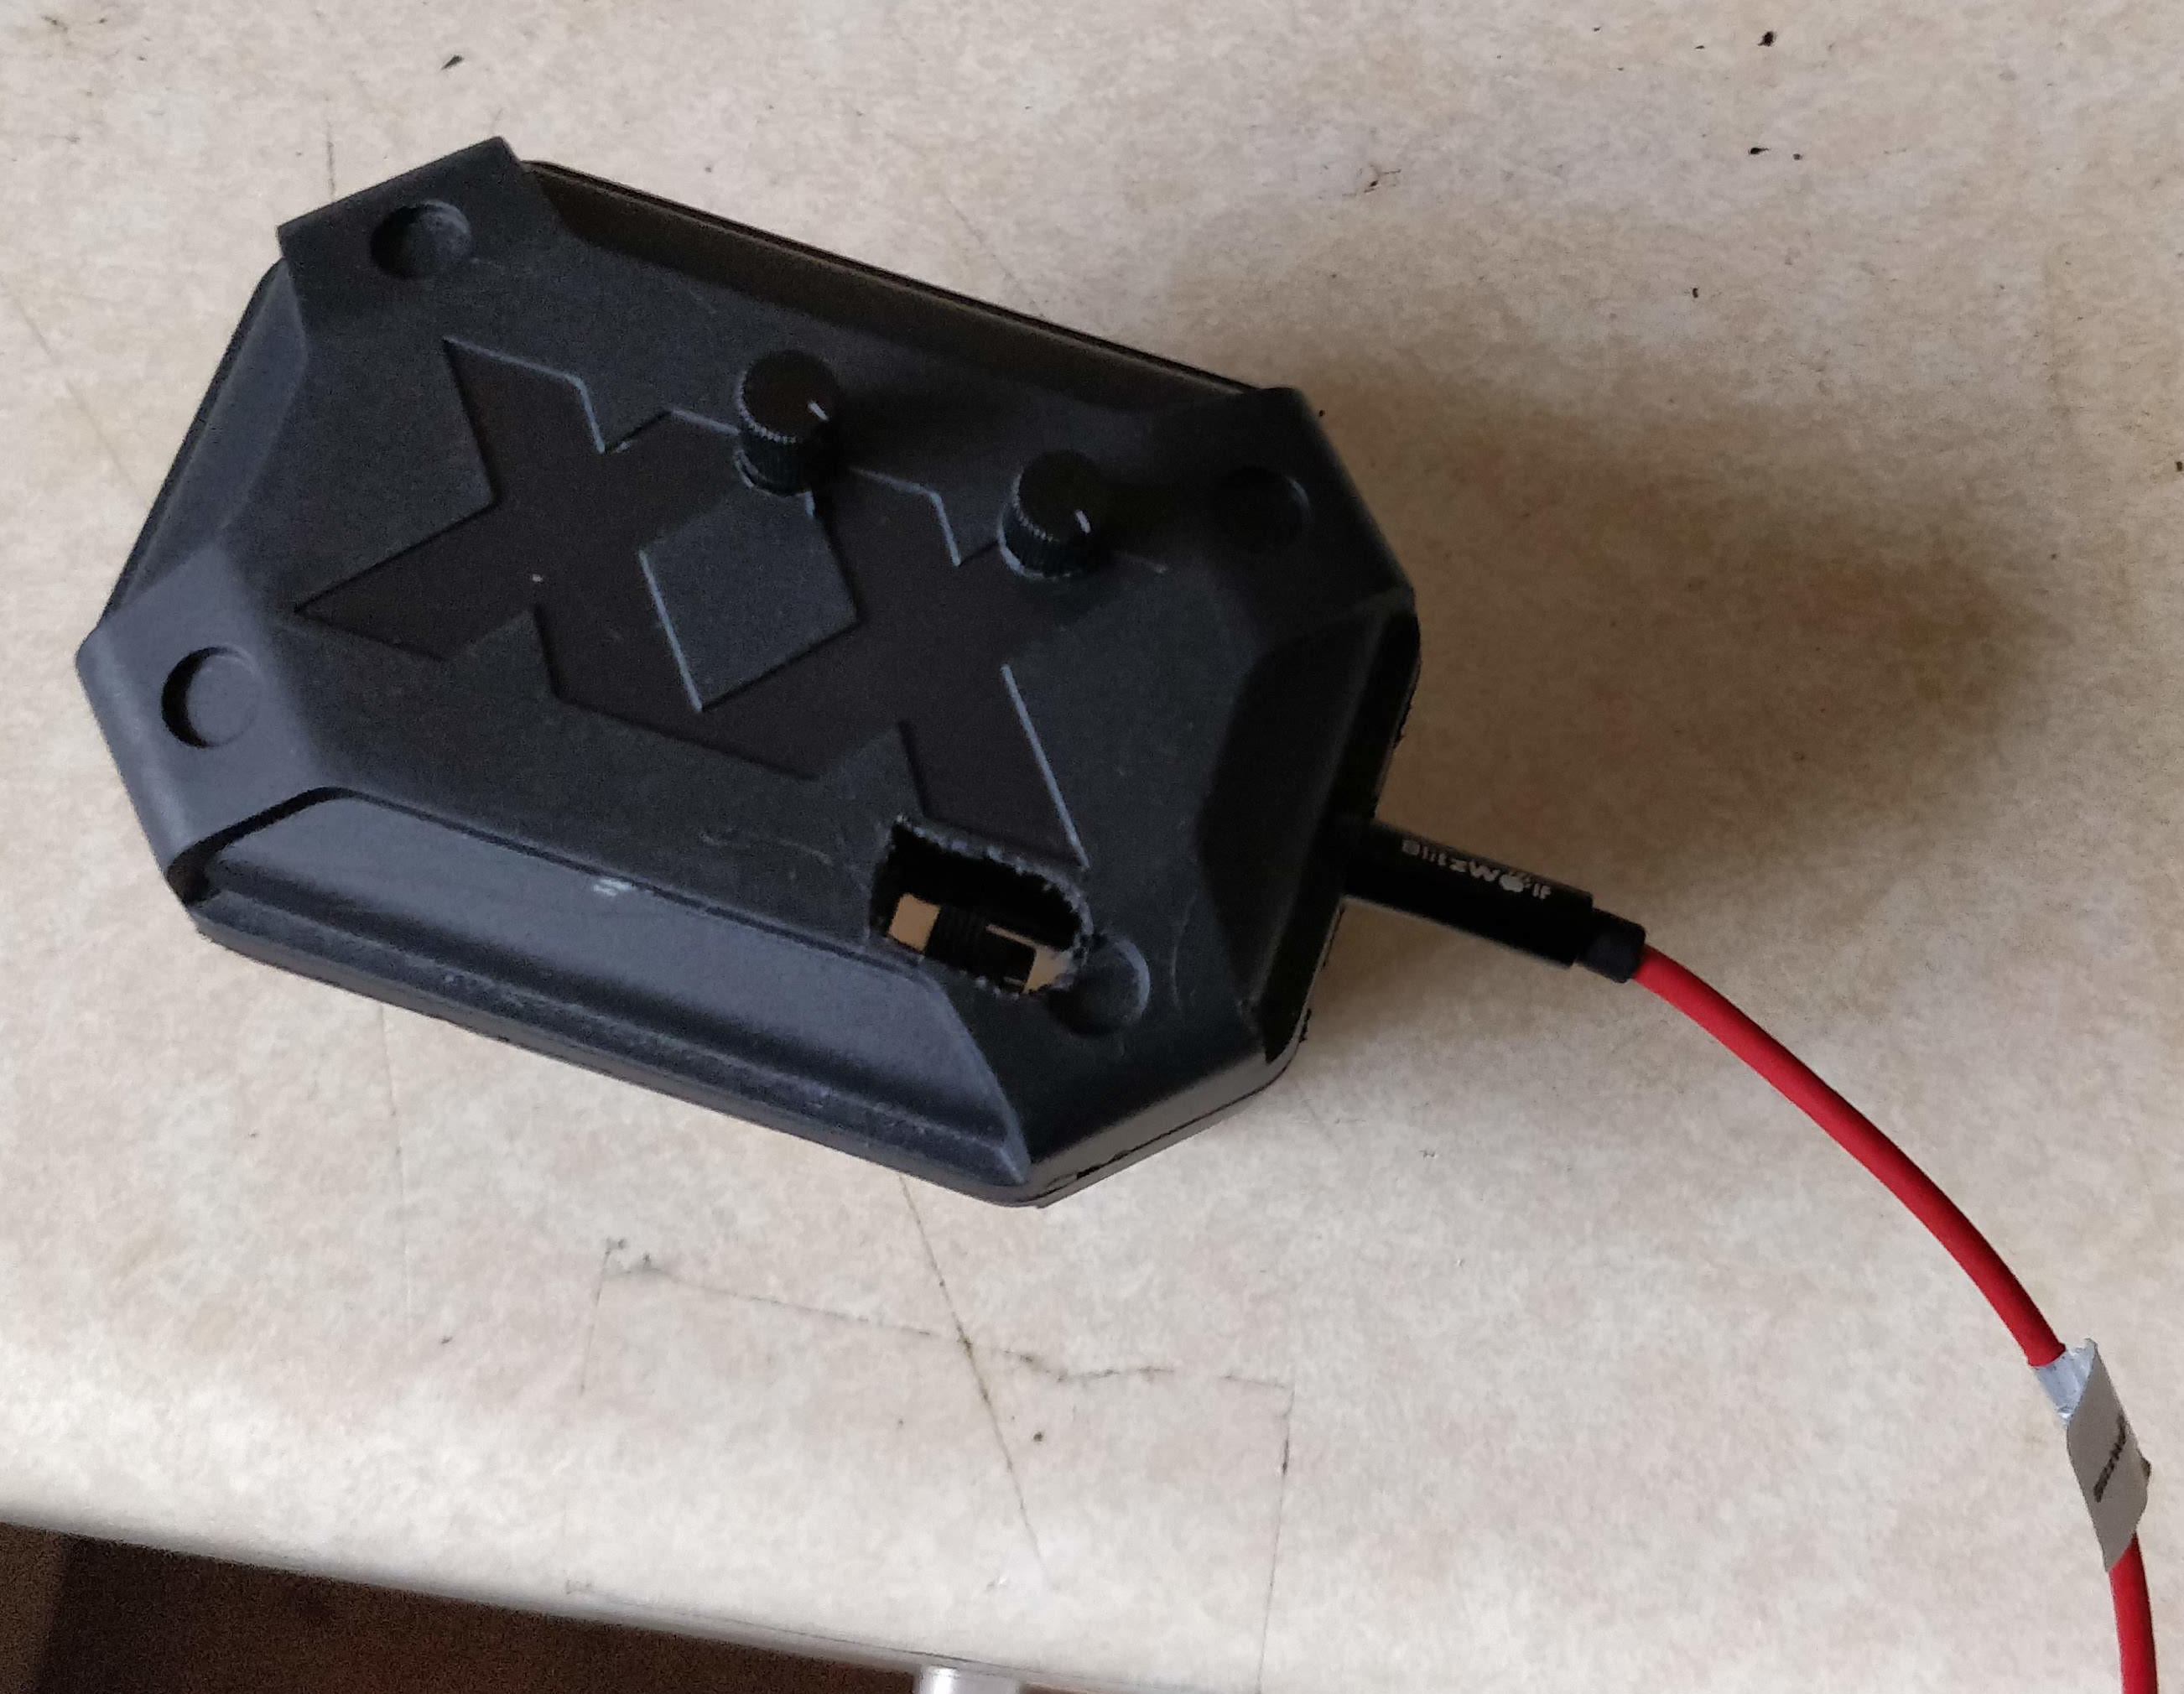
A Rakit Atari Punk Console kit with Depth & Pitch control packaged into an old JVC earphones box with a PP3 battery holder superglued to the back. With an all important sticker!
# How I Found What I Wanted (DIY Noise Makers)
I decided to get into DIY electronic kits after seeing the huge number available on BangGood.com. Before I came to Rakits I'd made DIY clocks with temperature and light sensors, multiple failed radios (they're my weakness), power supplies, speaker kits, etc.
But it didn't take long for my industrial music loving brain to come up with the following important formula:
DIY Electronics + Like Noise = DIY Noise Making
So then I went hunting for noise making devices I could hook up to my speakers or just make noise with. I remember an interview with someone from Throbbing Gristle where they openly admitted knowing not a single thing about making music but they enjoyed making noise. Having owned an electric guitar for about 6years and still not being able to get past 3 chords I sympathised and wanted to make noise too but with someth9ing I'd built myself.
# Coming Across Rakit
I came across my first Rakit first via eBay. Their eBay store has the full collection but they have their own site with tons of options and a great informative blog that's well worth checking out.
My first Rakit was the Atari Punk Console which did exactly what I wanted - make noise! I also got a sequencer - that was a mistake! Too soon! It ended up with the LED's on the wrong side, all messed up and I gave up part way and resigned myself to a new one form their site!
Don't be overconfident and take the advice on their sites shop for each item as to how difficult they are - also be worth checking out the Assembly Guides which are there too.
# Building a Box for my First Rakit
Having done a lot of kits that came with their own box I felt my first rakit needed one but only something simple and preferably recycled form the multitude of bits and pieces of cruft I have lying around.
# An Old JVC earphones box
At first I thought I could fit the battery and circuit into the box and be donbe with it but I lacked a few things such as....
- a drill.
- drill bits for small holes and big holes.
- a ruler
- everything to make a proper project box work!!
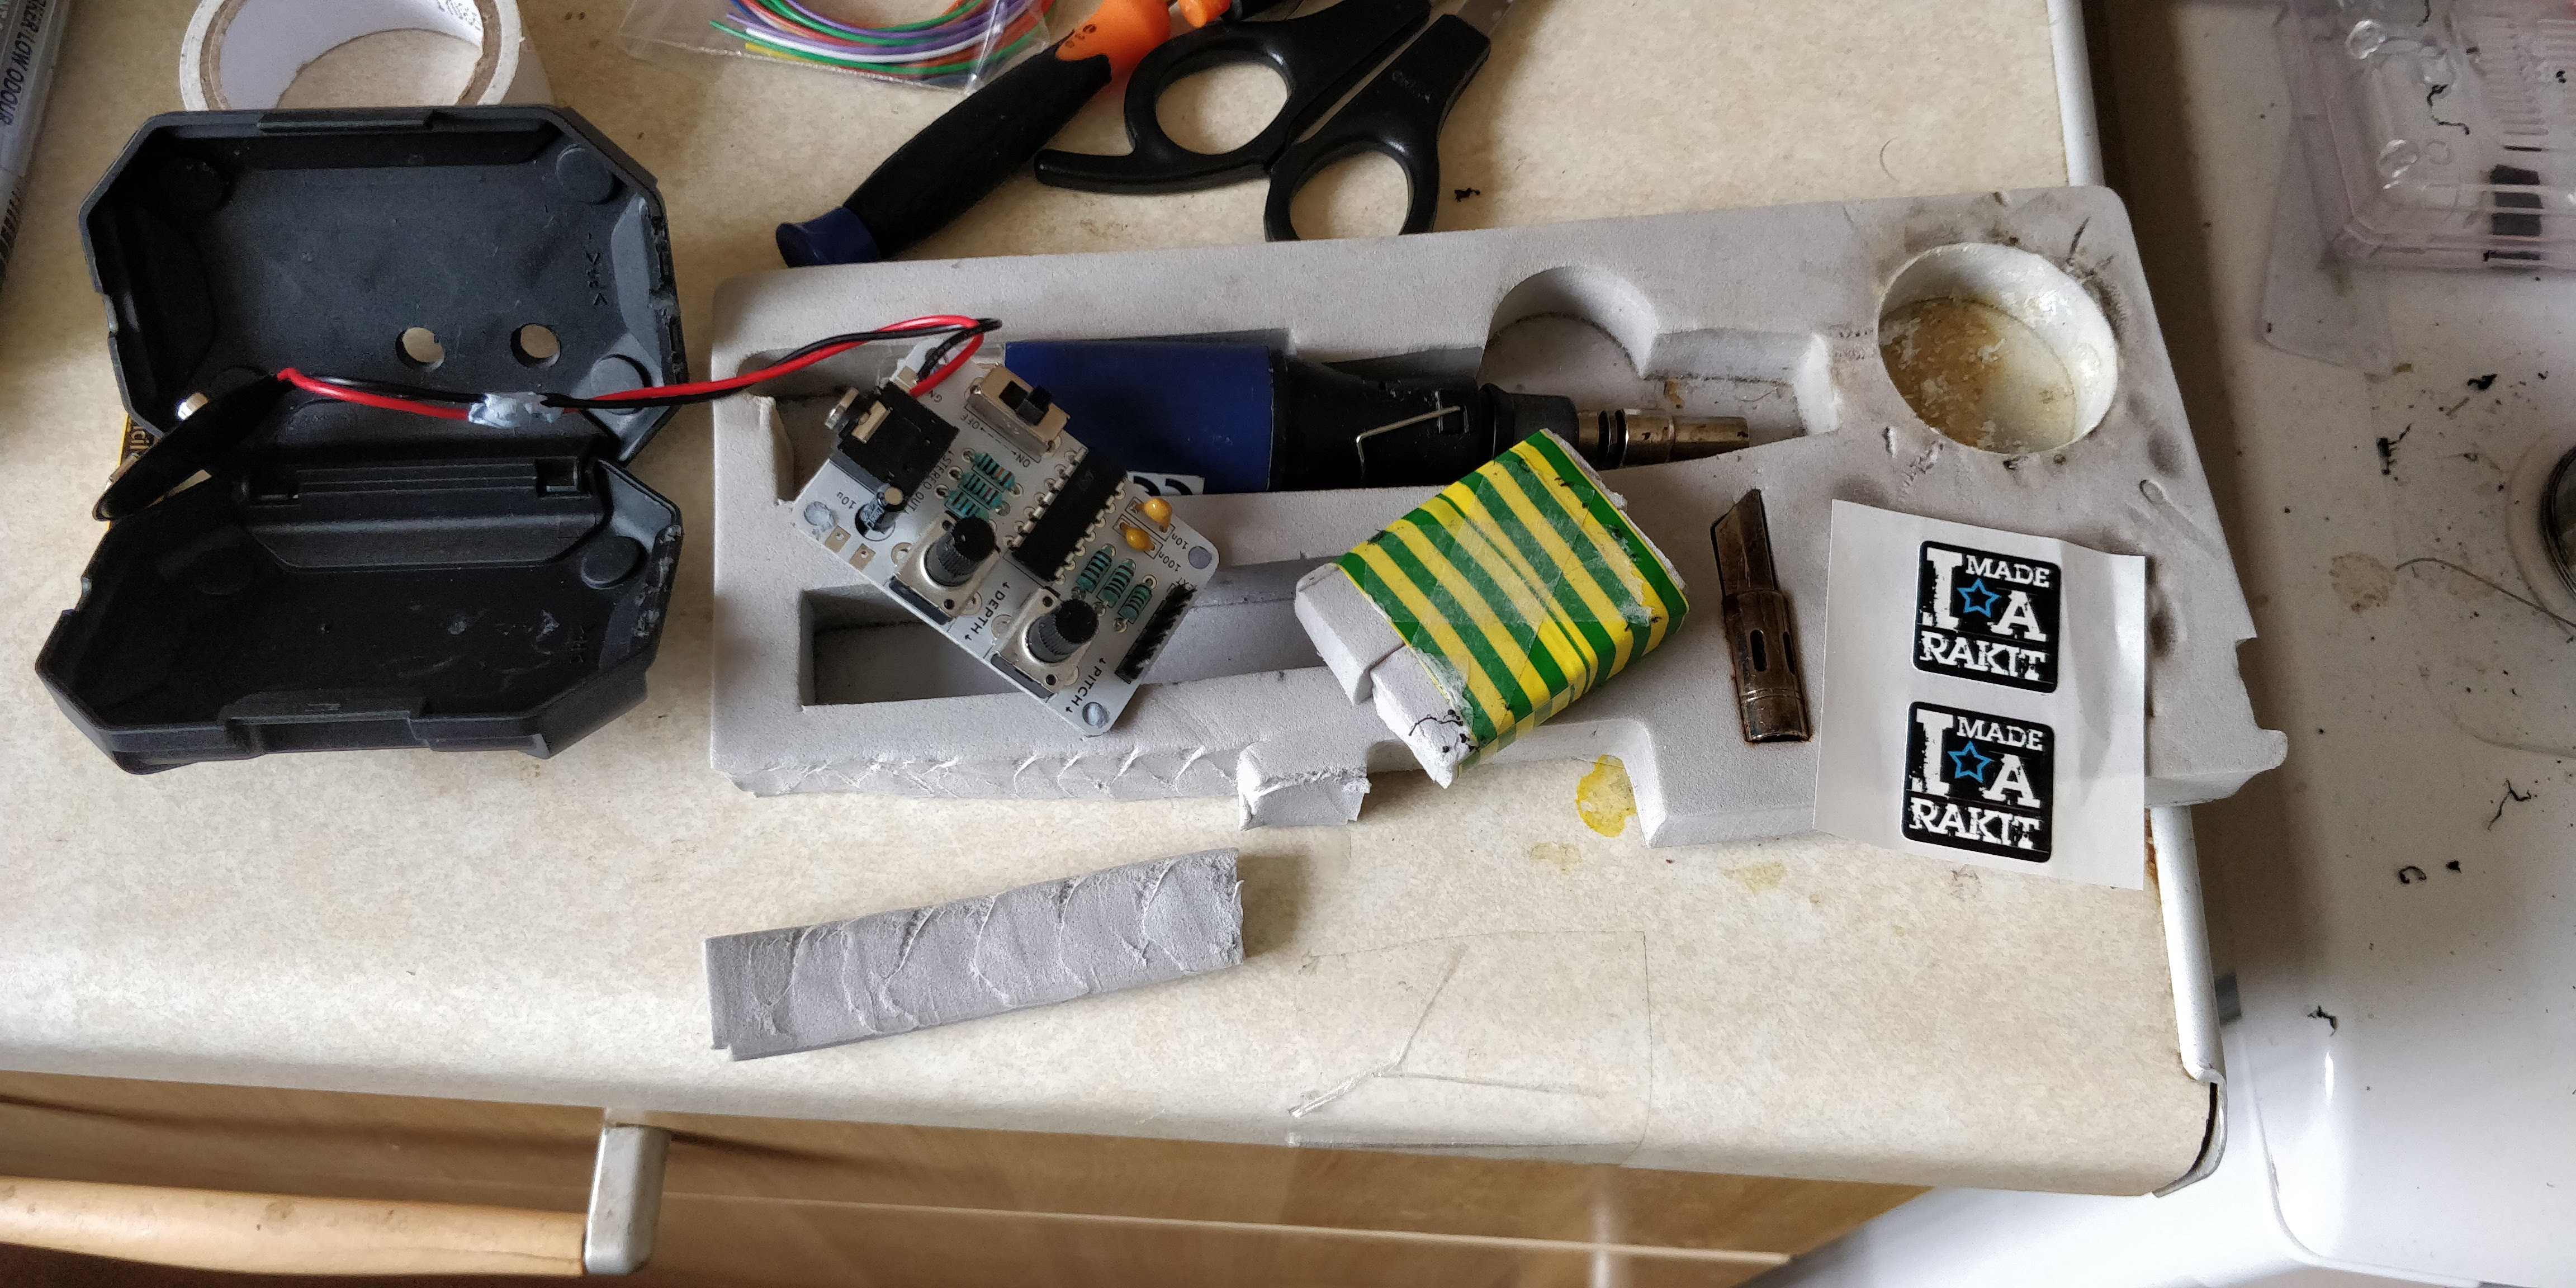
So I bought my above list of atefacts online while constructing my APC. I set about creating padding for the base where the Rakit would sit
At first I was planning on using the battery clip cable that came with the kit but after finding out that my supergluing it to the PCB and melting the insulation (see pic) to it that I needed to find a replacement and reover the situation. I'd recently bought a job lot of about 25 PP3 battery holders so I superglued one to the back after drilling holes for the terminals to slide into that would come up behind the PCB inside the case. See pictures below...
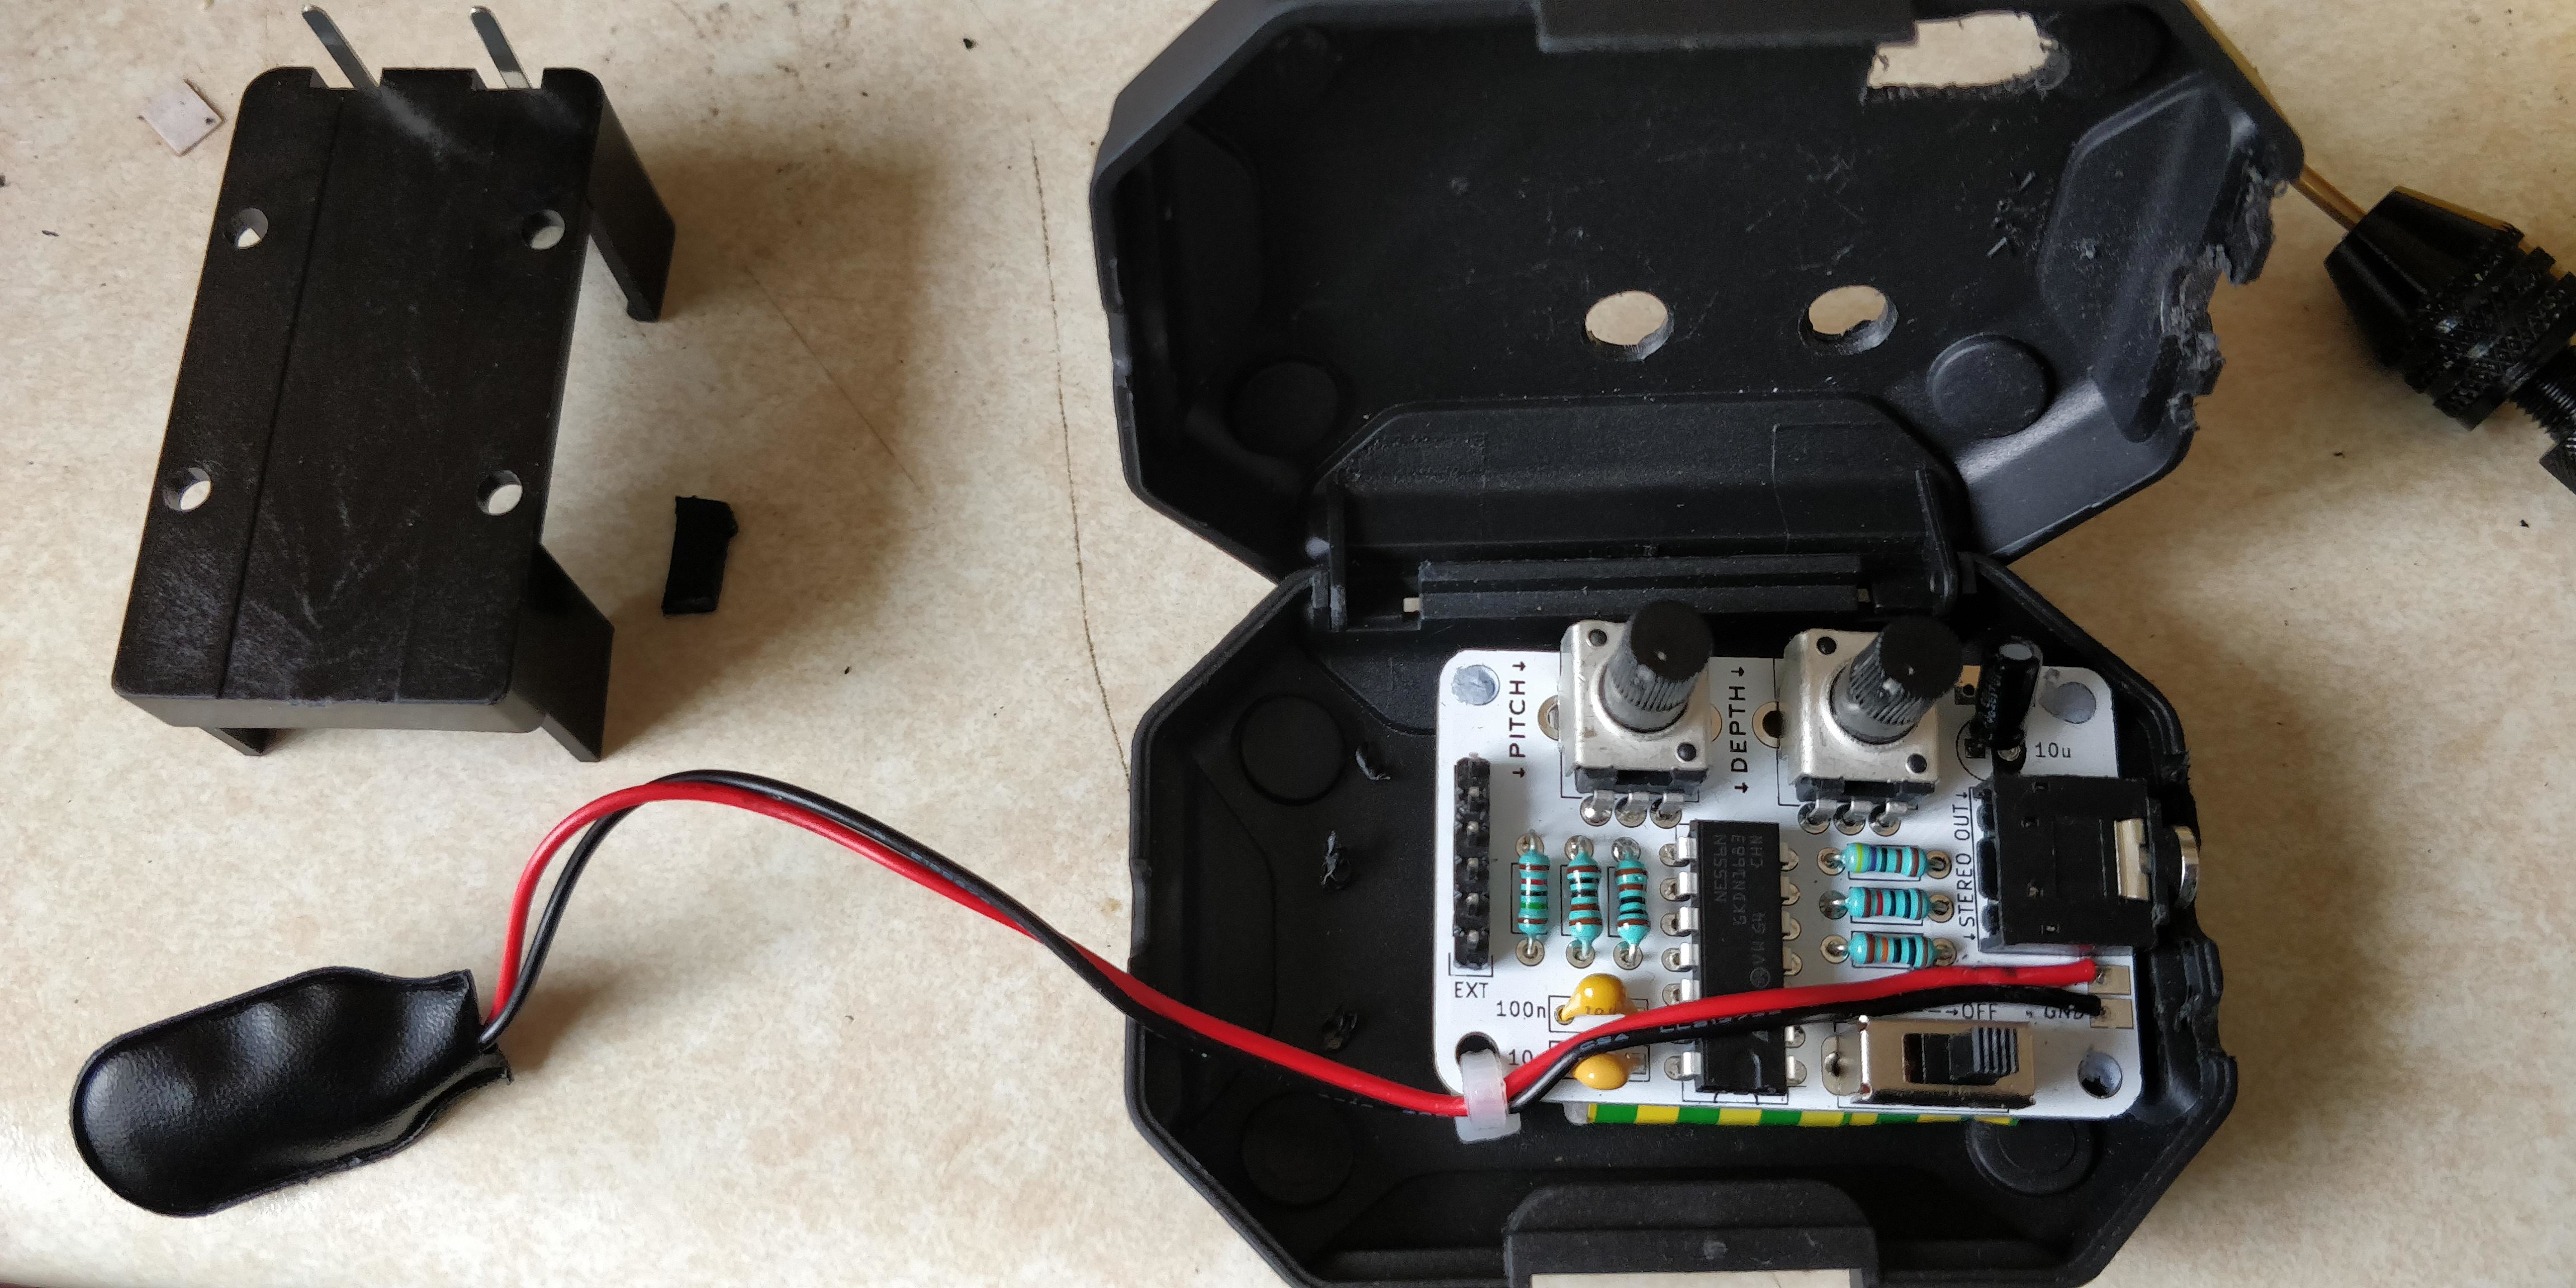
You don't have to have an electric drill for any of this work to be honest. I did end up using an electric hand drill for the POT holes but I could have used the hand drill you see in the picture which costs tuppence ha'penny from Amazon or your local hardware shop for about £600 + VAT (and they wonder why local shops go out of business 😕 ).
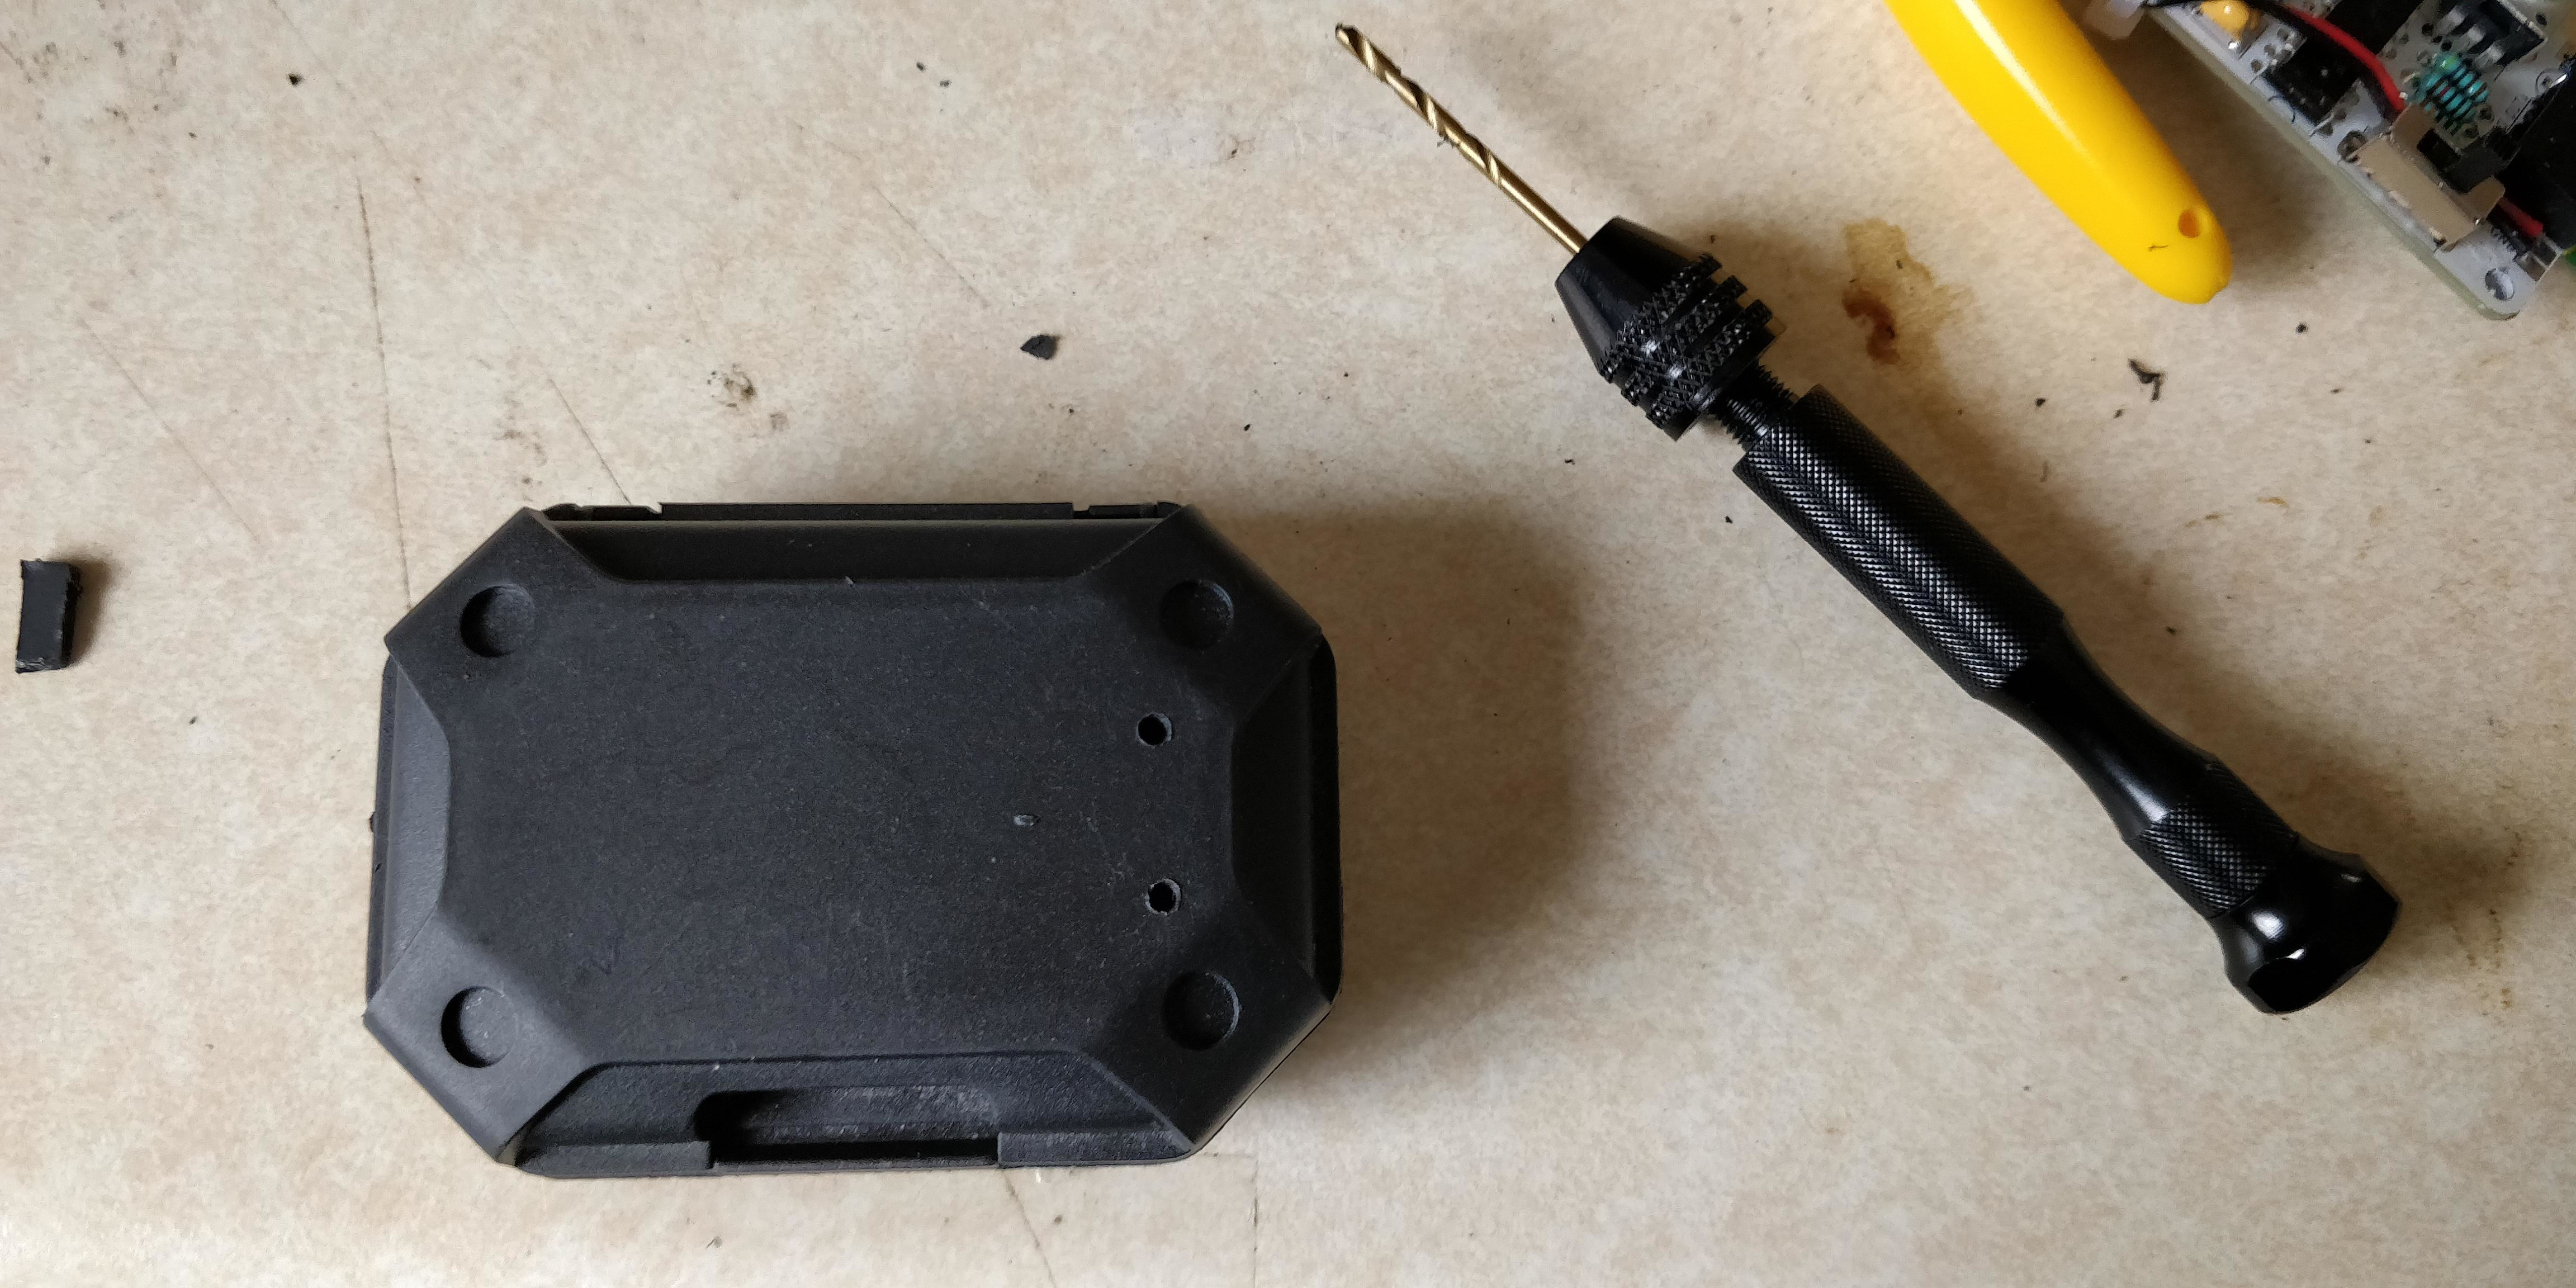
Although there were screw holes for the battery holder (4 in total as you can see) why waste the time and screws when a simple bit of superglue would work just as well.
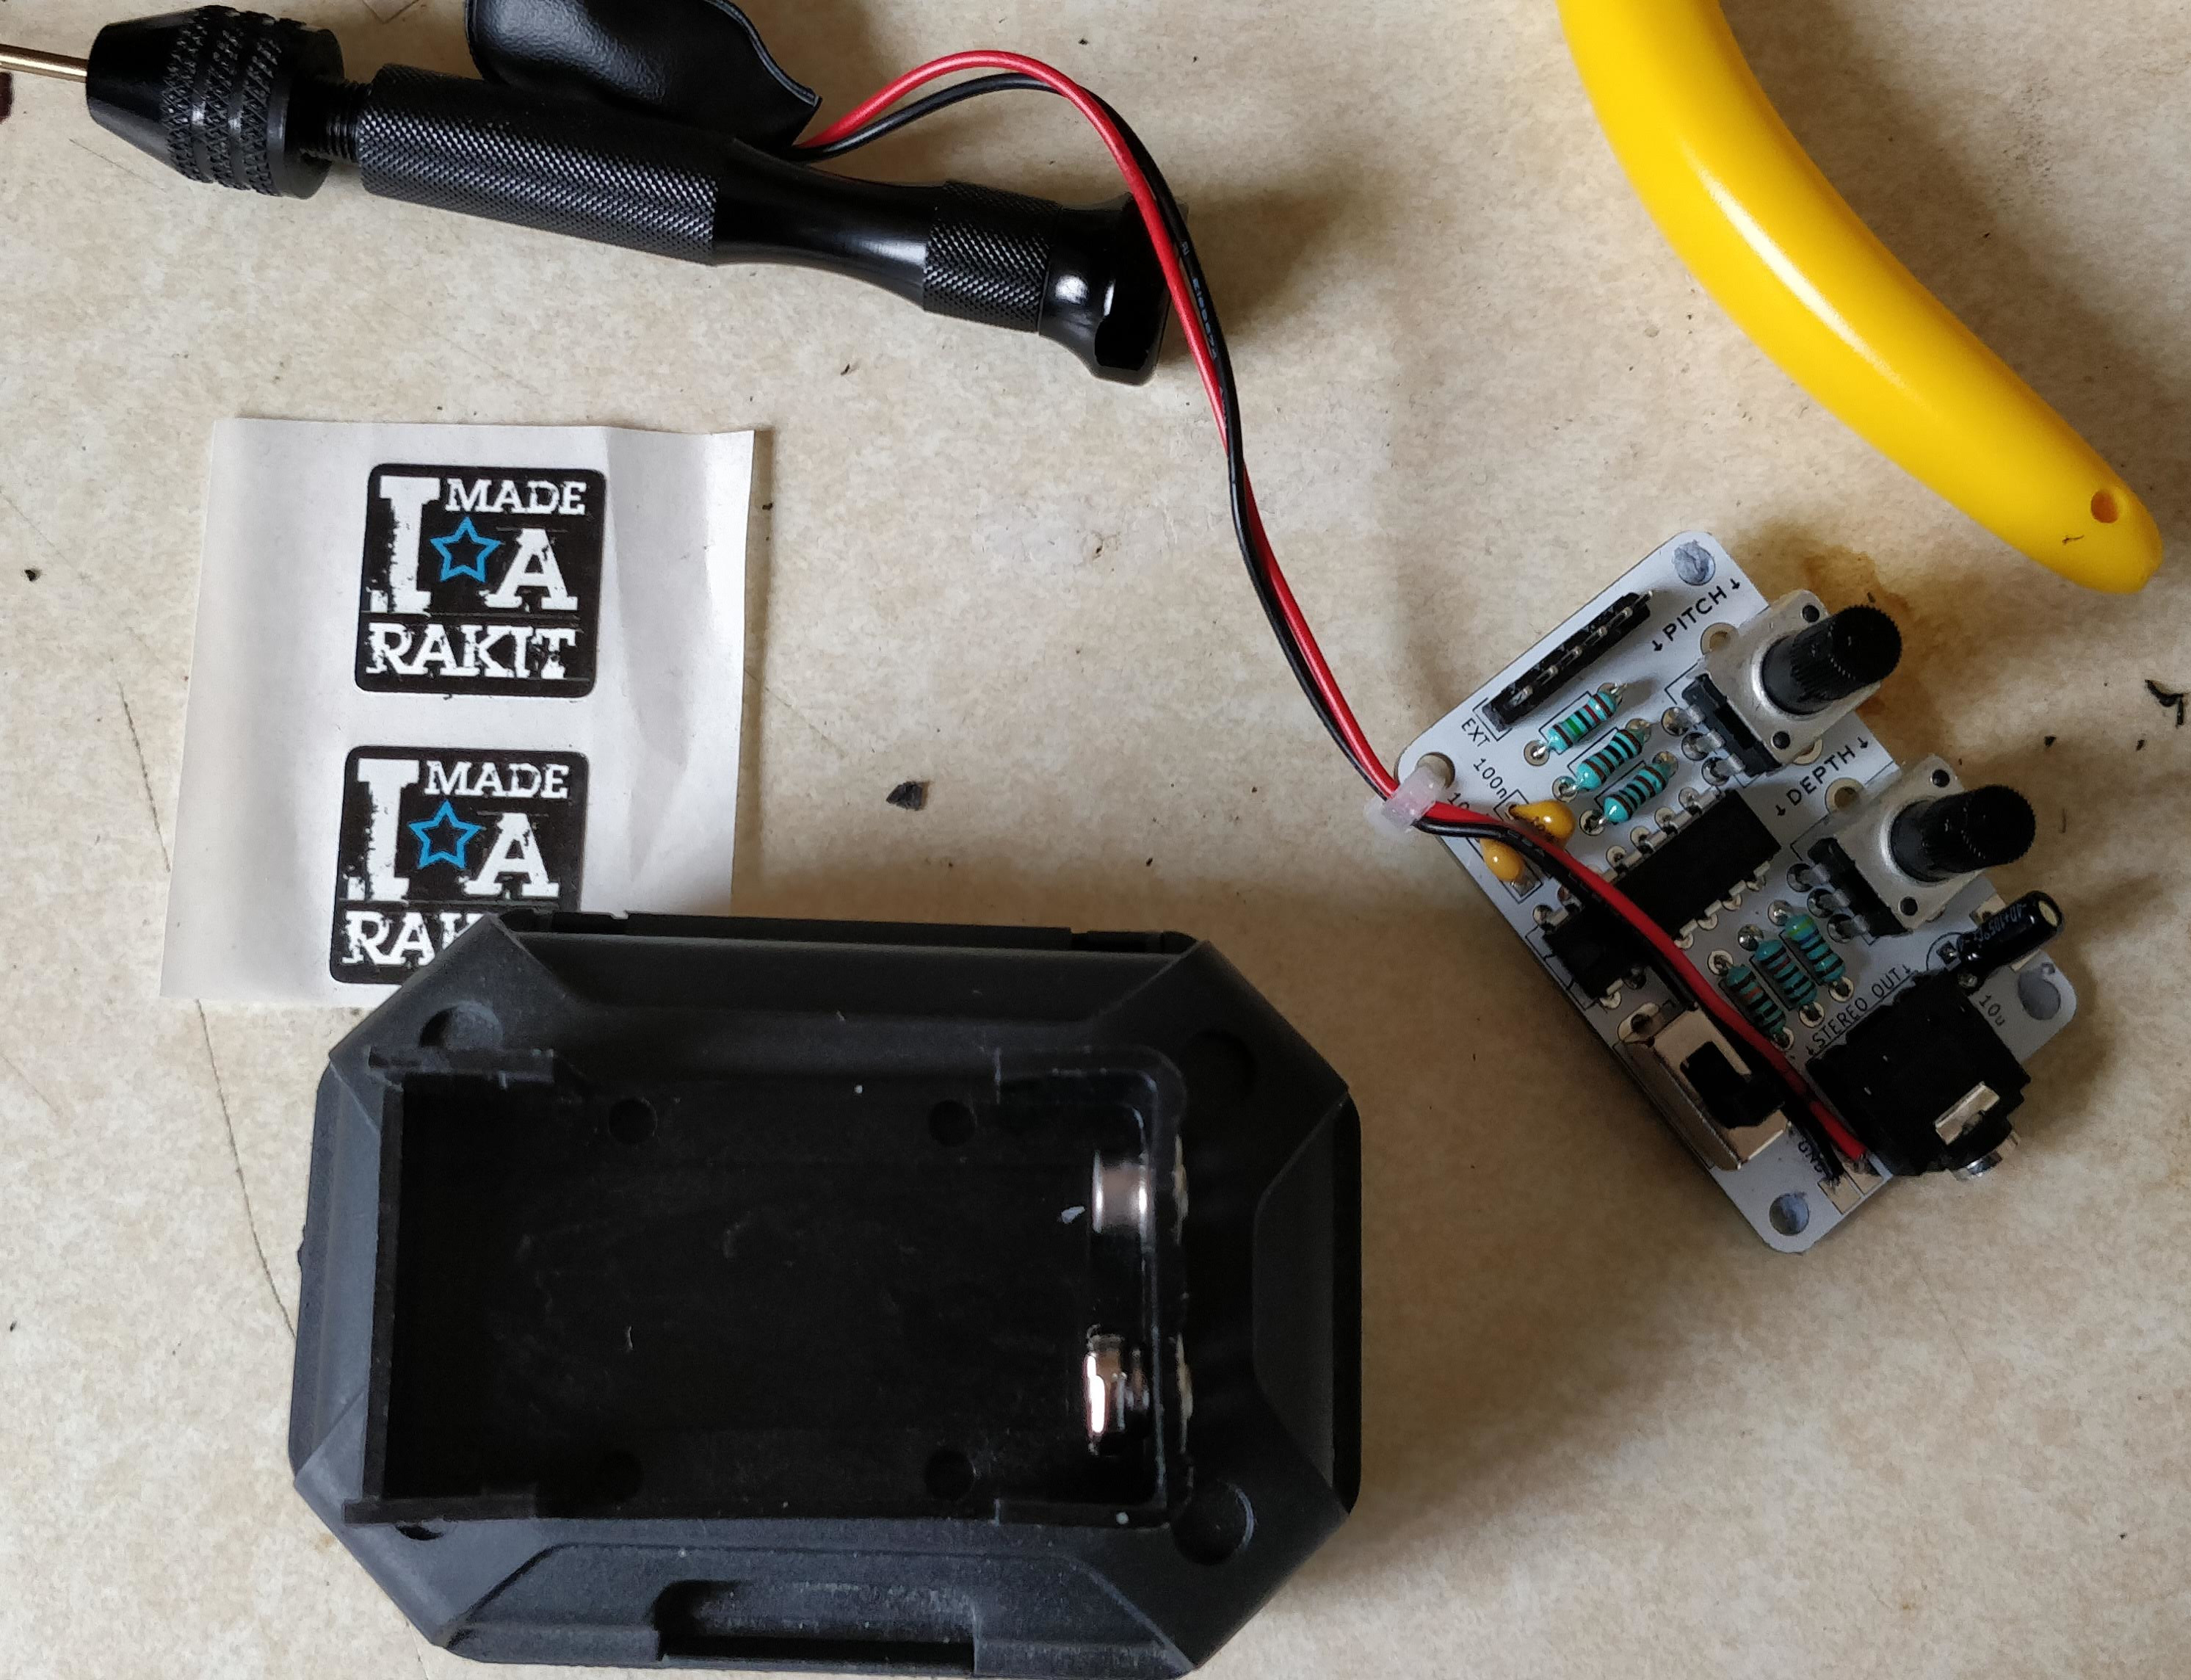
I created the grey padding in this photo using the cut up chunks of an old gas soldering iron taped together using insulation tape then with double-sided sticky tape placed on the bottom to keep it stuck in place. Sorry - were you expecting me to say I 3D-printed something? Sorry - I'm pretty low tech when it comes to building things like this. Be prepared for more when I post about other hacked electronics projects.
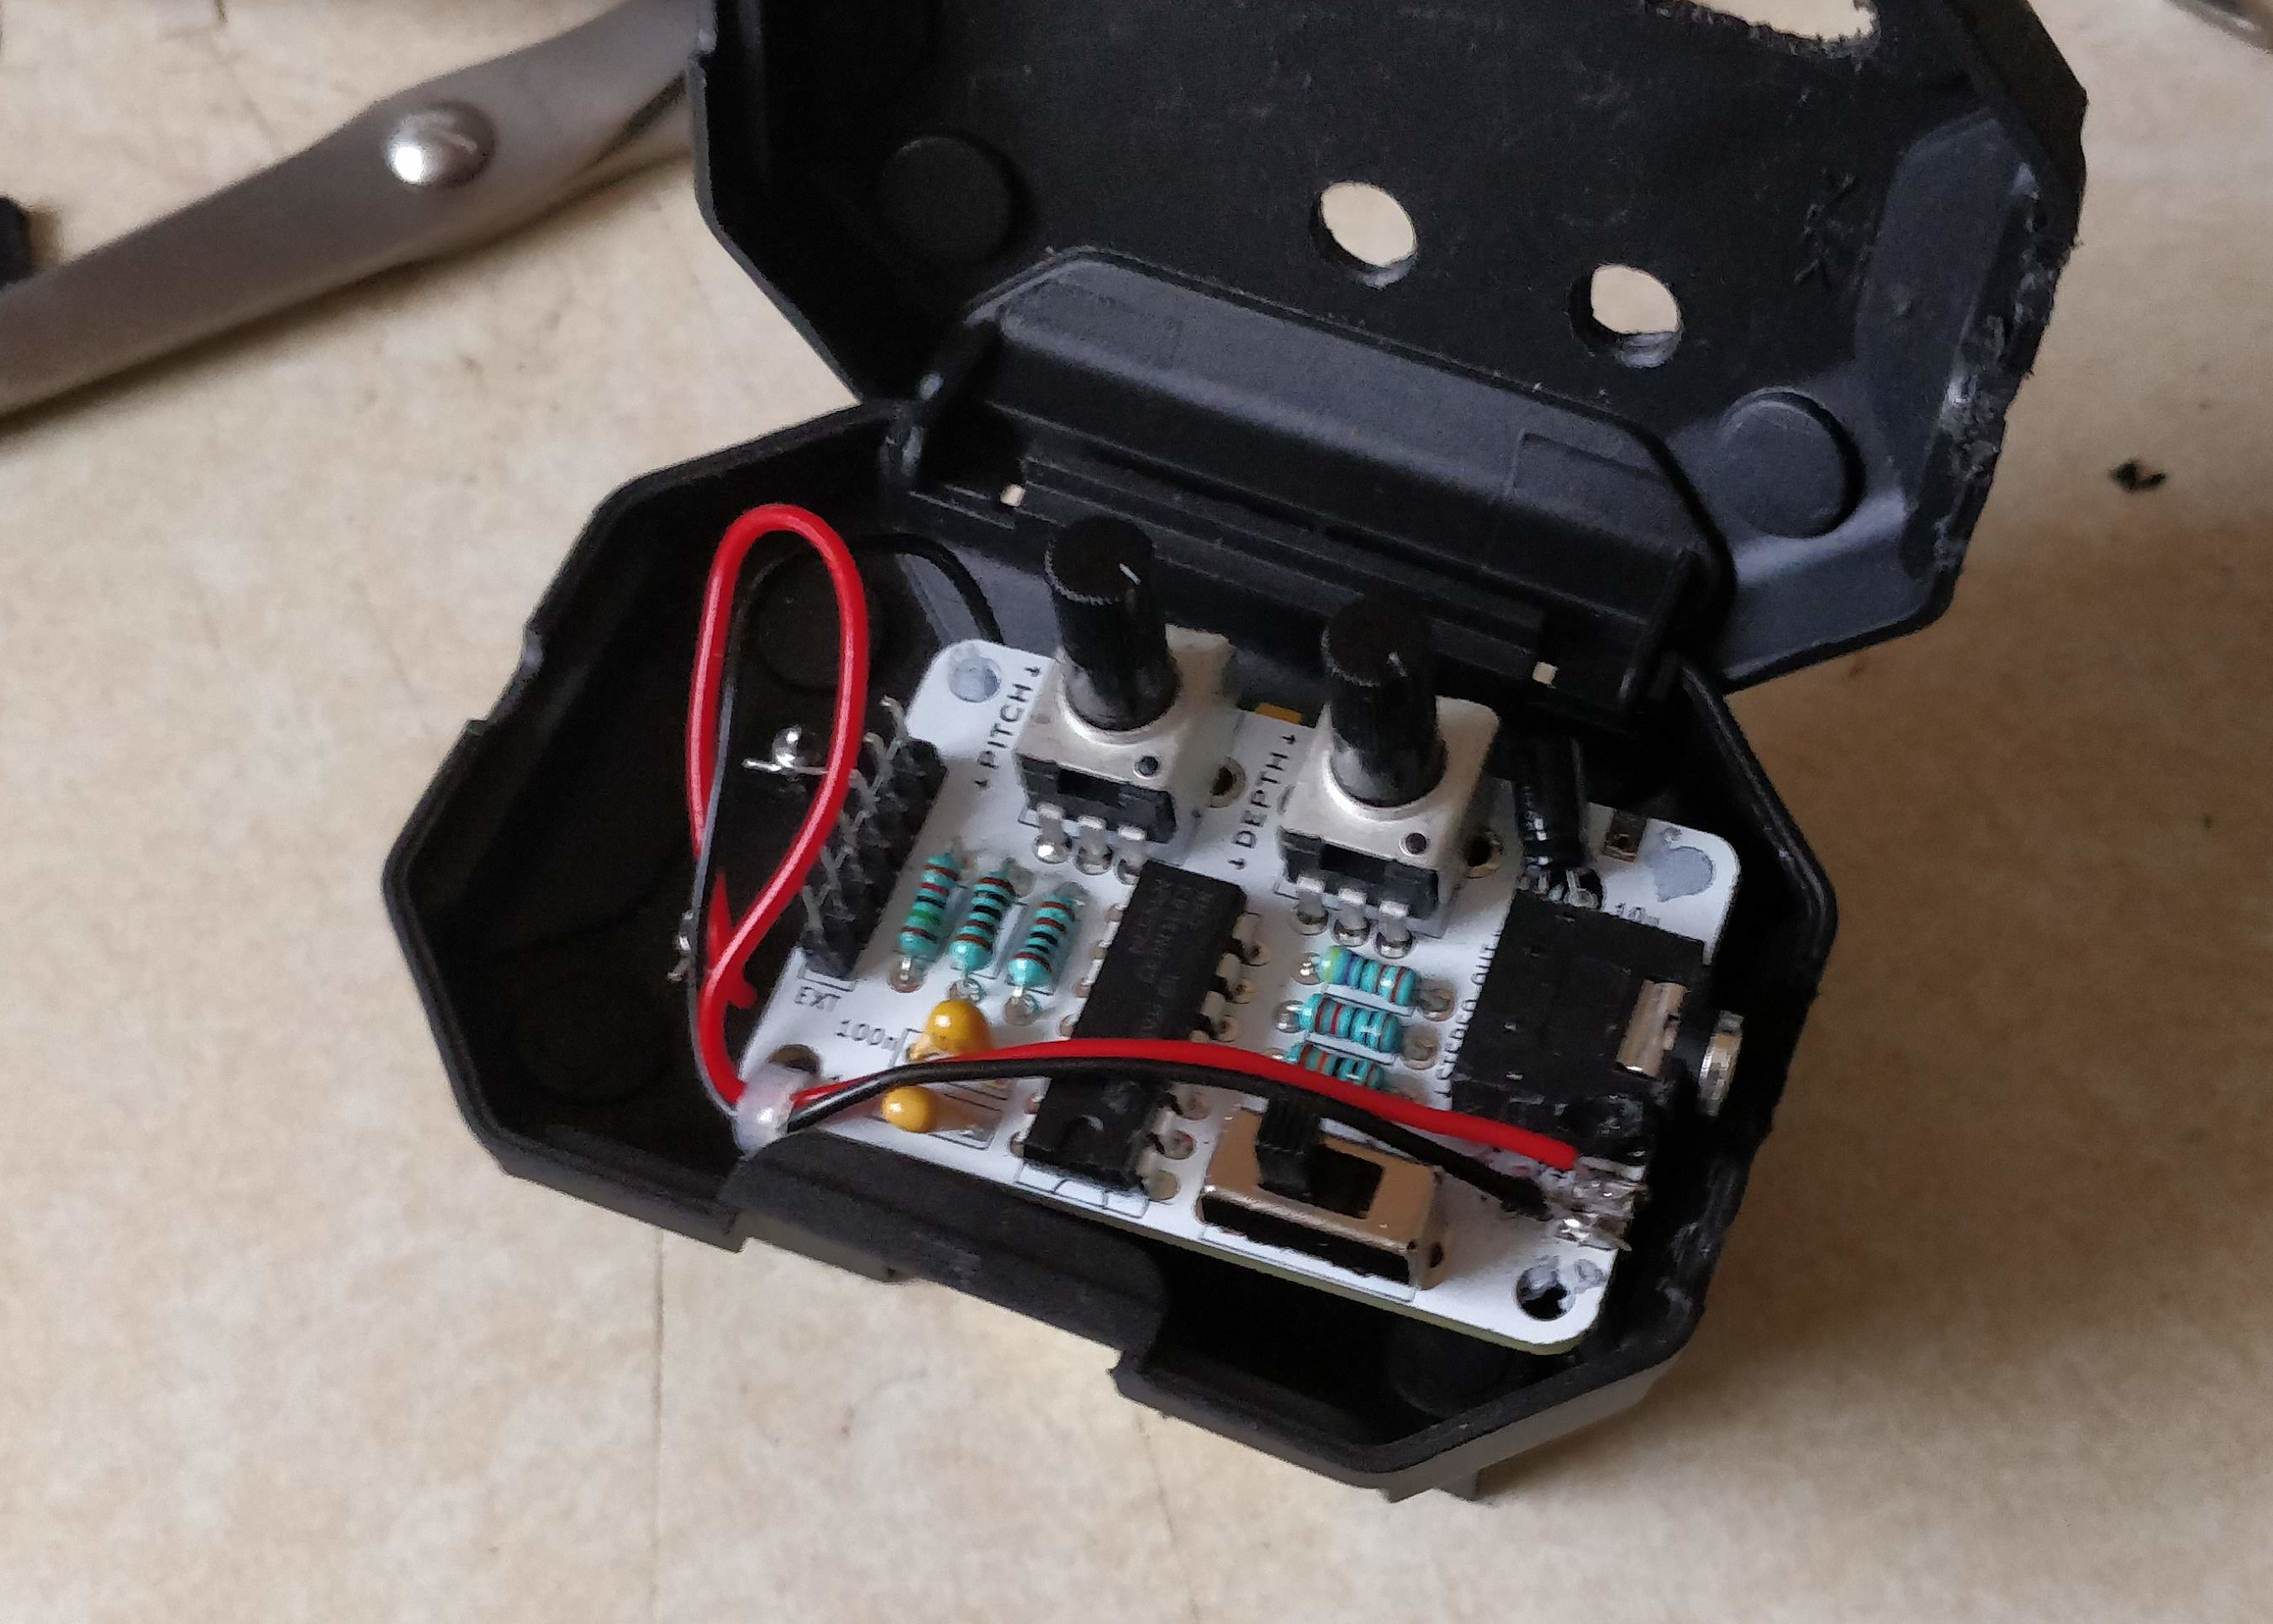
# How Did It Turn Out?
Not amazing but OK as a first attempt at putting a DIY electronics kit in a recycled project box. It gave me a MUCH greater respect for peope who build hardware boxes for electronics and taught me a great deal of what needs to be done to improve on my next adventure.
I thought a simple ruler, a few drill bits, and a craft blade would be enough. Little did I know the sheer complexeties and questions it throws up along the way - especially when not planned. Such as me having to put the POTs on the PCB into the holes before closing the box. Then finding it didn't align the output hole with the box hole. Also noticing that the POTS didn't align horizontally (see below).
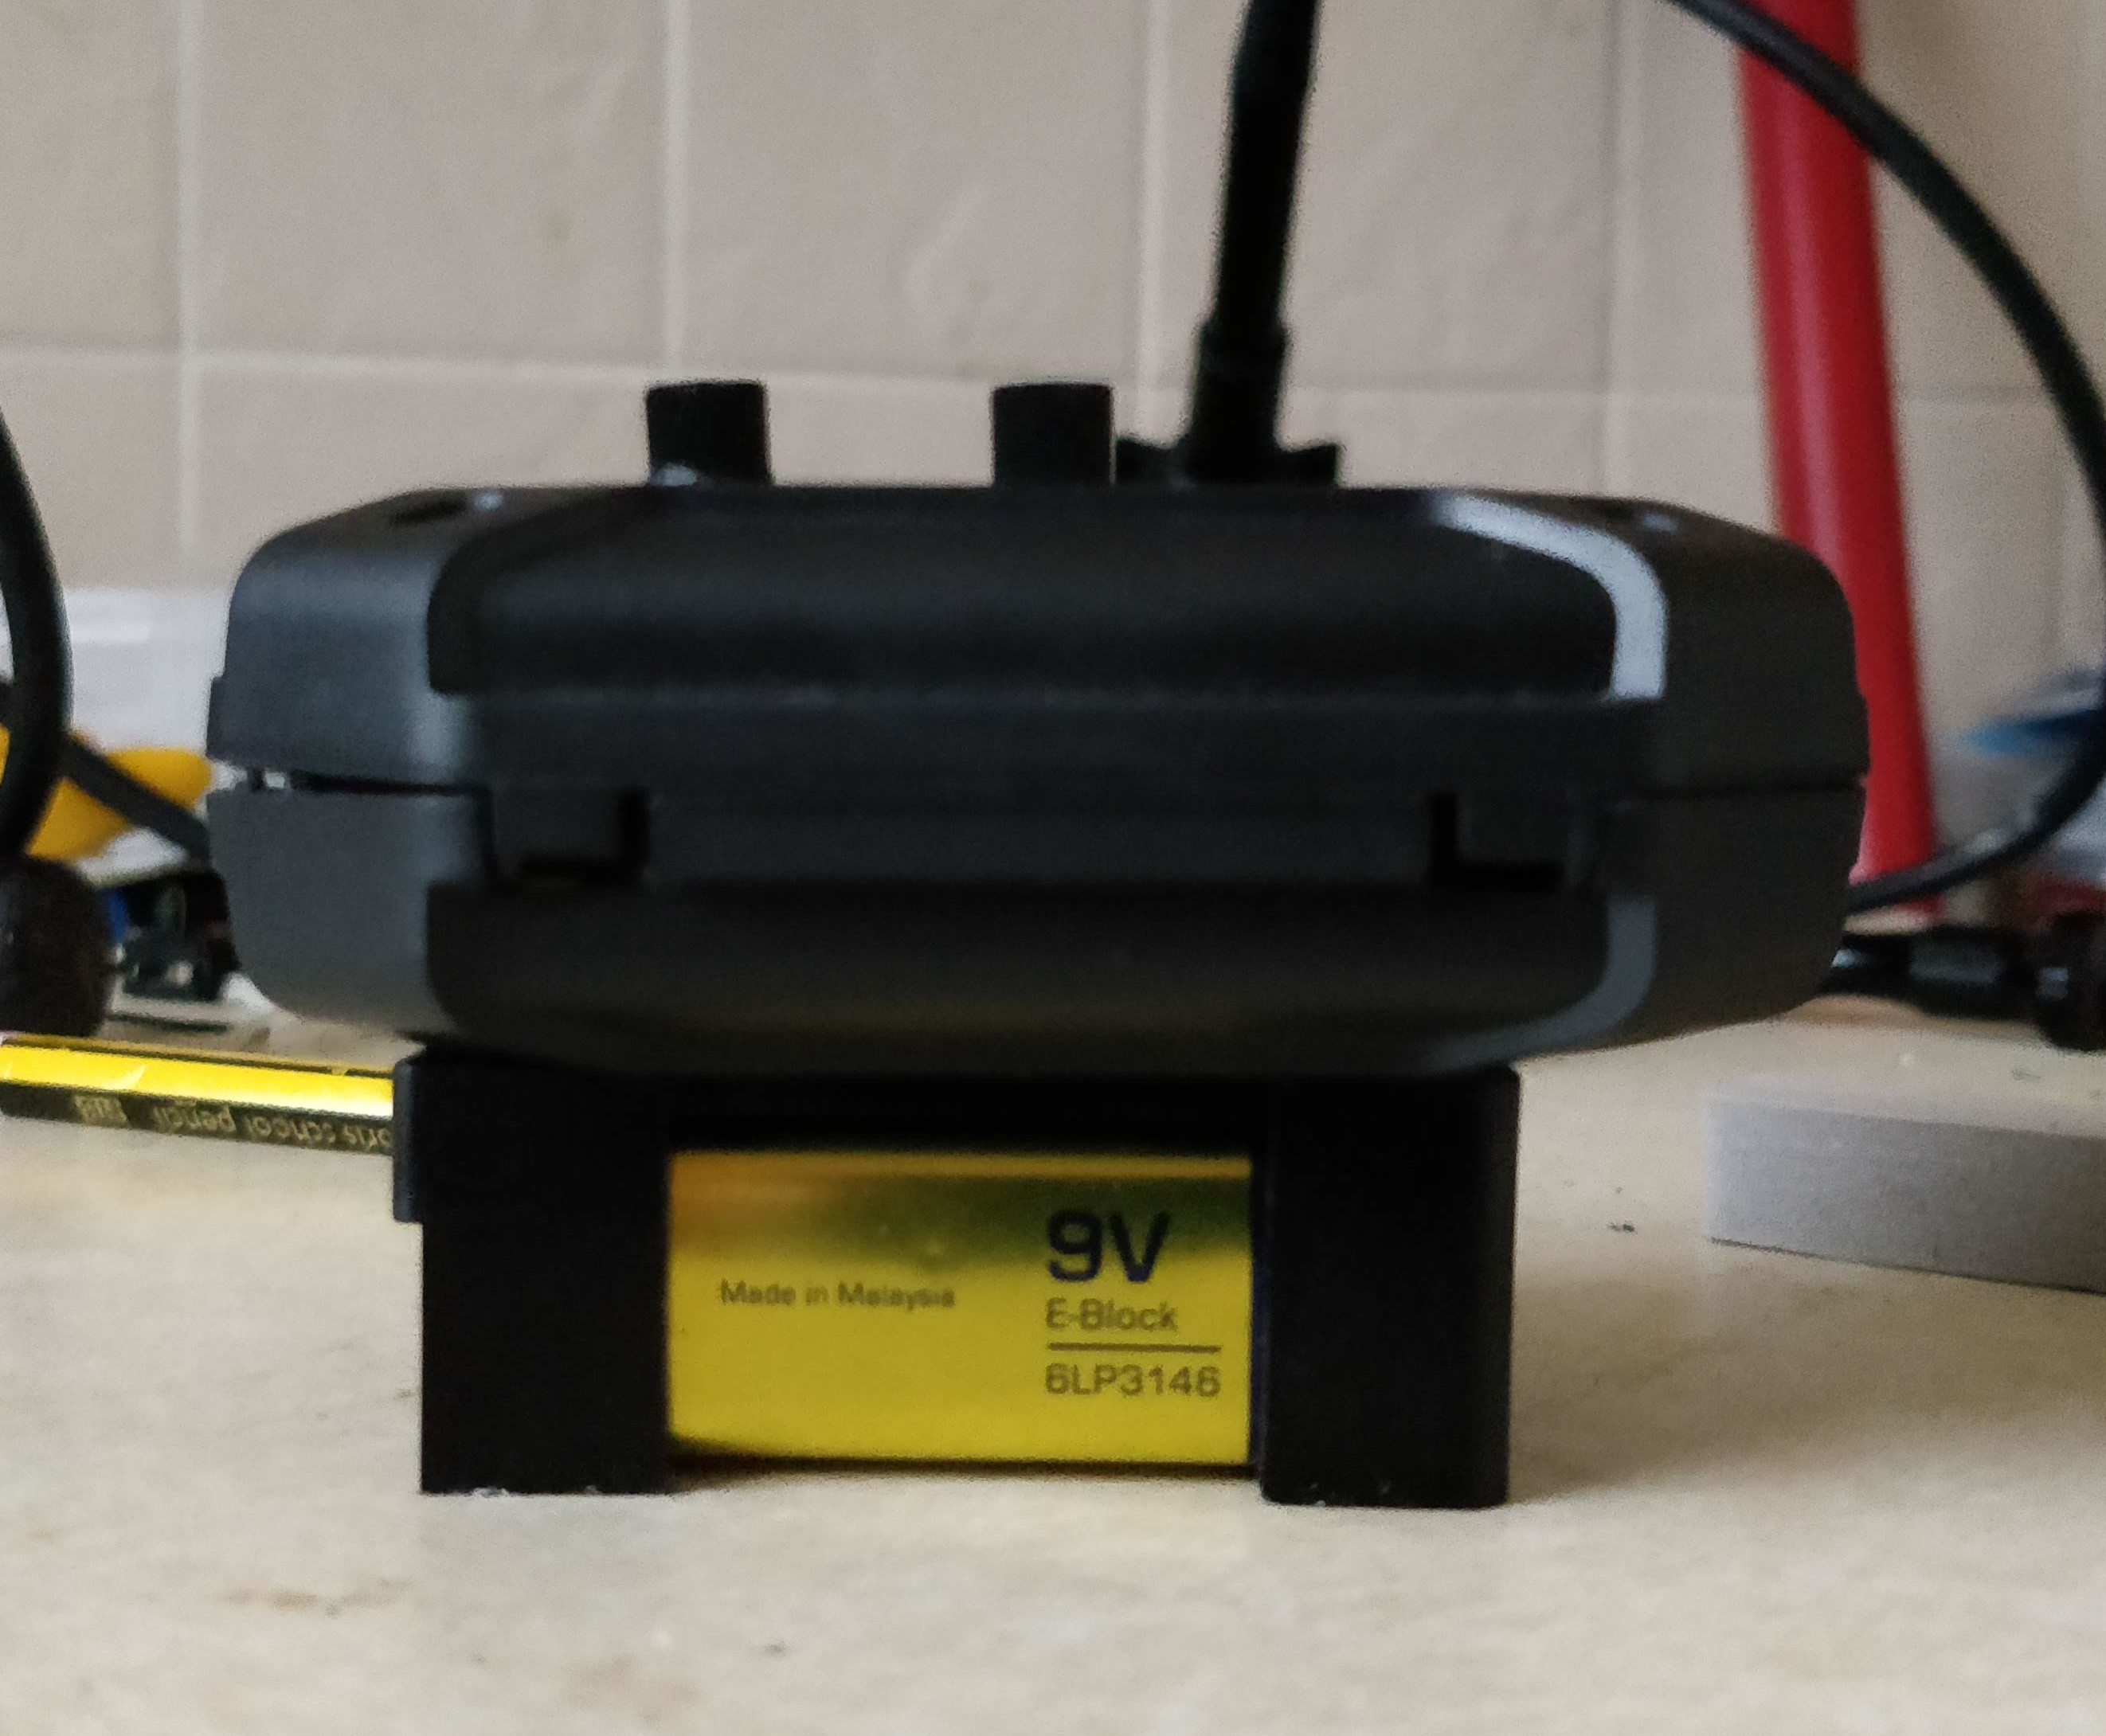
Using superglue the wrong way and finding it melts wire insulation. A lot was learnt (see below). I've since bought another APC and will likely break out every single resistor not just the usual POTS as I noticed that changing the resistances in paralell gave different sounds. So I think there's more options there. A whole array of POTS in a long line with options to chain them into a Mega Deluxe Atari Console. I also got the Deluxe APC to do the same with. This time I've got better boxes and I'll use what I've learnt here on the new fully broken out versions.
# Its Important To Keep a Clean Work Area
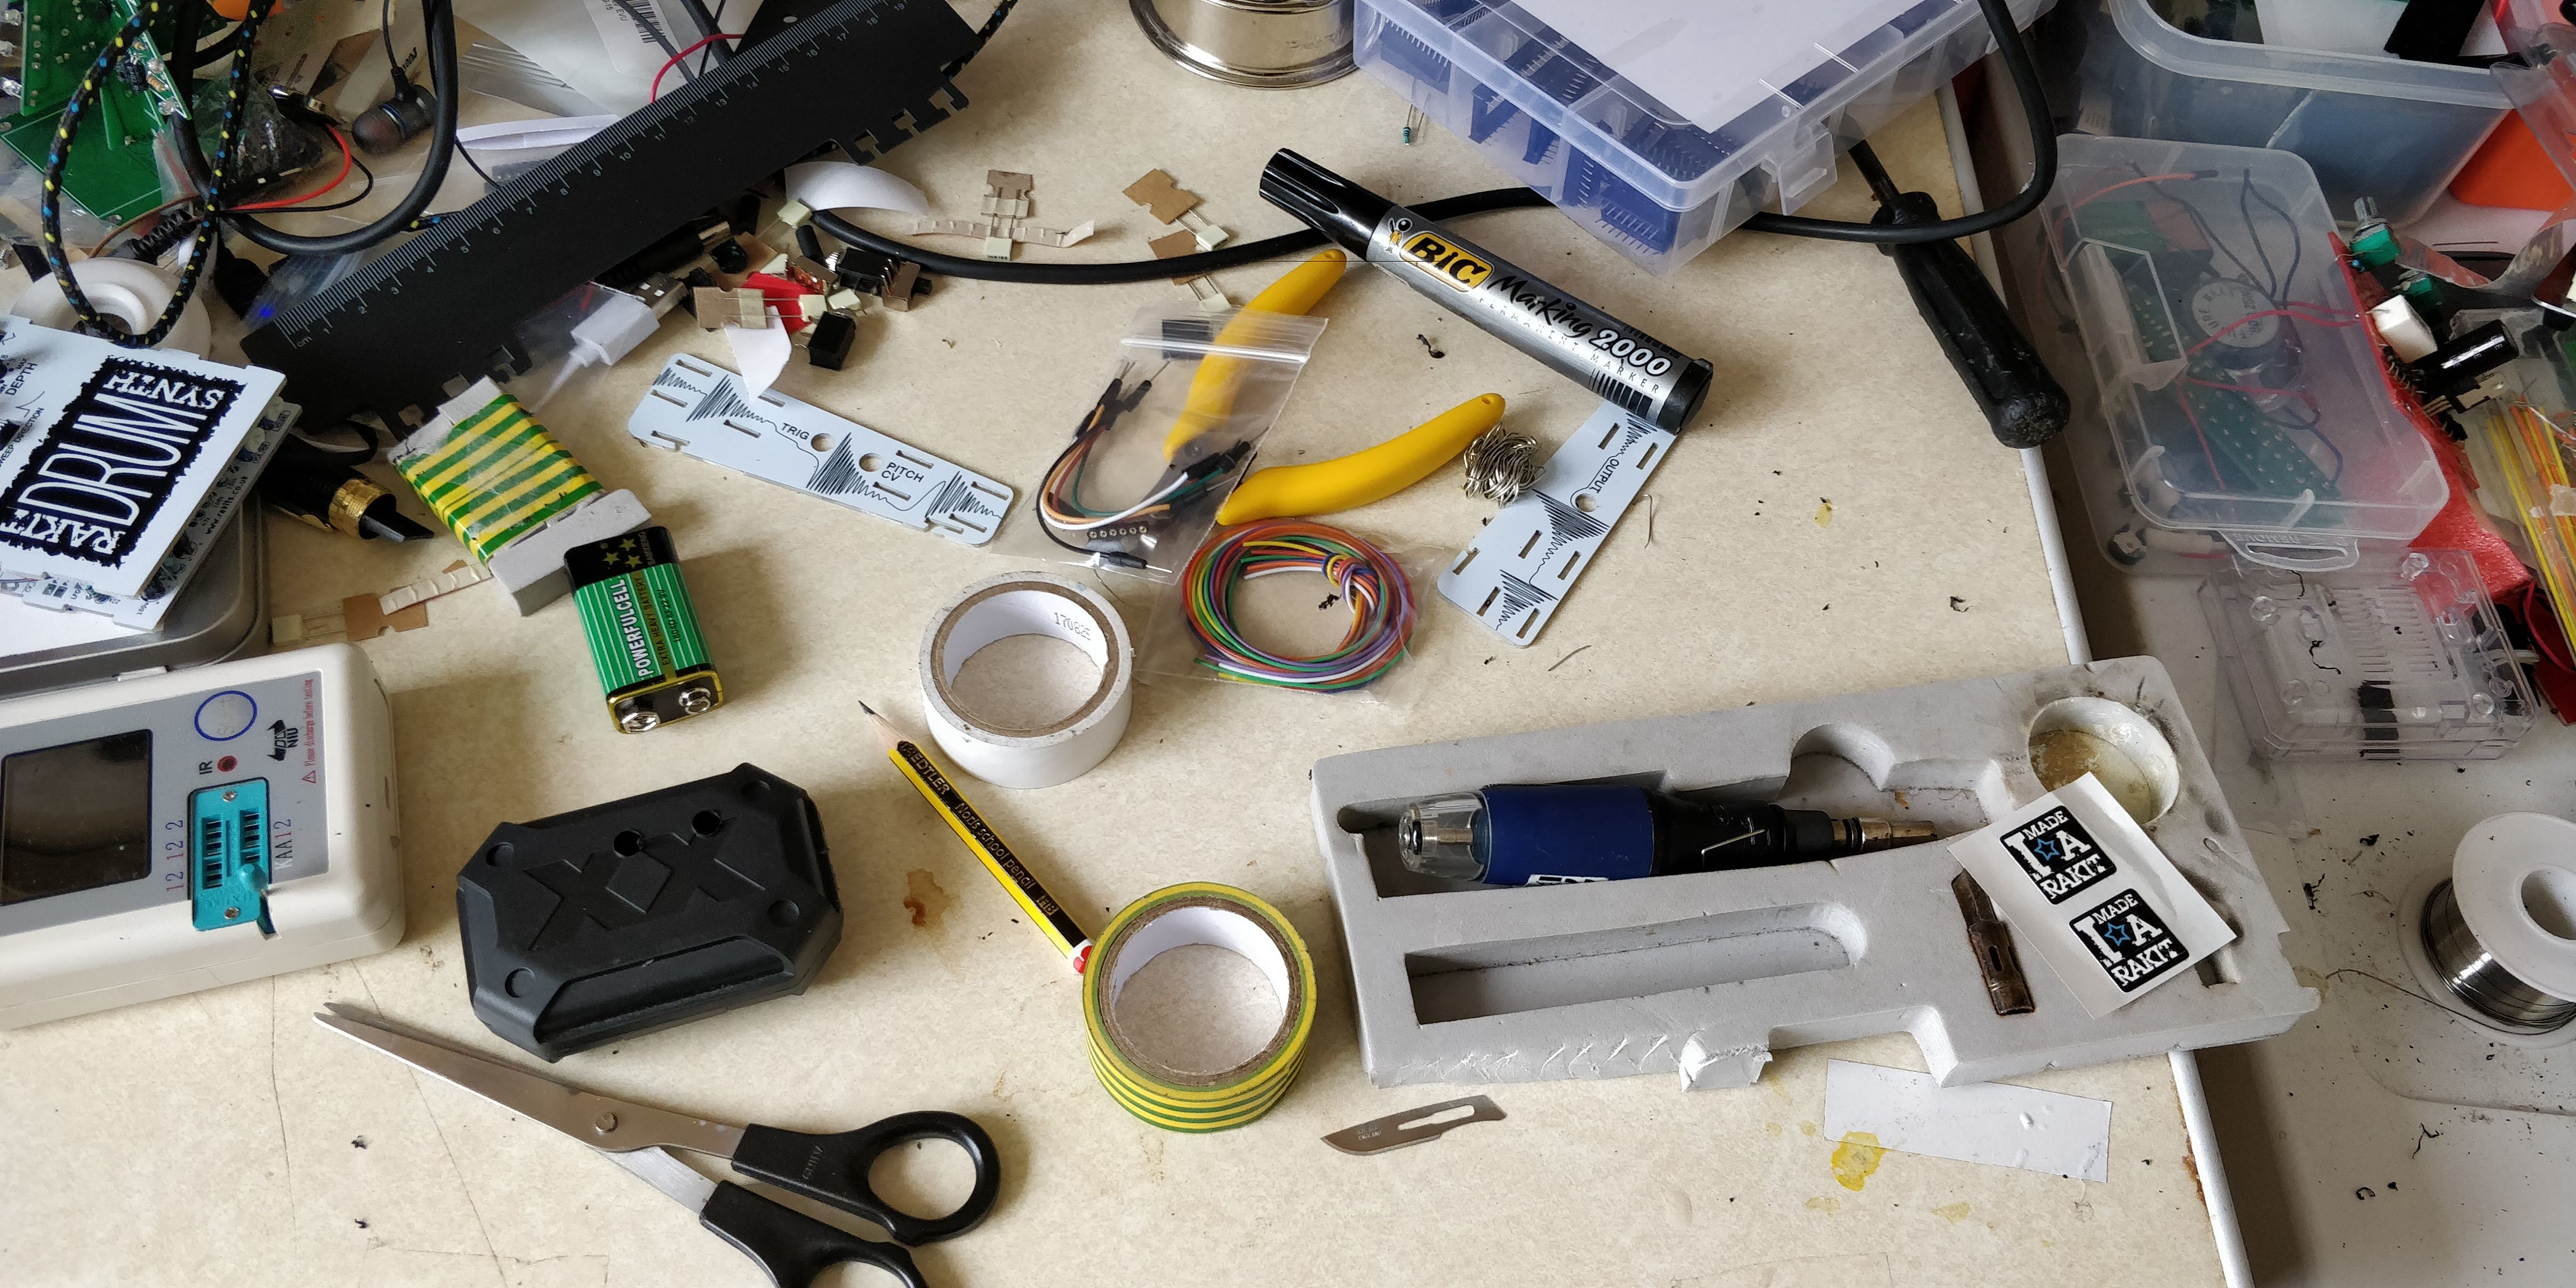
Notice I'm currently working on the drum kit. This project has given me a whole new insight into how complicated it must be to CAD and produce a case. To me the drum case seemed relatively simple until I had to produce my own project box!
But no seriously you should always keep a clean work area to make sure projects components don't get mixed up and solder standing or under a desk so you don't drop hot solder on yourself.
# What I Learnt
- Plan and plan some more.
- Measure once, nmeasure twice, cut/drill, measure thrice.
- Be prepared to make mistakes.
- Superglue makes wire insulation melt and potentially merge and short circuit wires.
- Quick component testers are sometimes faster than a multimetre at giving you a resistor or capacitor value.
- Making noise is awesome.
- The continuity tester on my multimetre is great.
- I'm not very good at making project boxes look good.
- I have a renewed respect for the people at Rakits and for their designs and the work that goes into them. It ain't easy!
- I like stickers!!
- Don't solder over your crossed legs.
- I'm a sucker for sweets!
- It's possible to fiddle with the the boards components in paralell to make noises in different ways. Such as sticking POT terminals over a resistor and you get weird extra/other noises. As mentioned this will be the core of my next project with an APC.
